Ever wonder if your FF6 game plan might be missing something? This guide takes the classic game and realigns it into eight action-packed stages, kind of like setting up a raid with your best friends.
We walk you through every step. One moment, you’re navigating the busy battleground of Narshe, and the next, you’re gearing up for the final showdown on the Floating Continent. With handy tips and cool tricks along the way, you'll sharpen your skills and boost your gameplay.
So, ready to level up and change the way you play? Victory could be waiting around every corner.
FF6 Walkthrough: Rapid Route Overview

Ready to jump into Final Fantasy VI like you’re queuing for a raid? We broke the game into eight big parts that hit you with new challenges and sweet rewards, each step feels like leveling up in a tough match. Here’s the lowdown:
-
Narshe – Start out riding with the Magitek squad: Biggs, Wedge, and Terra. Keep your cool and don’t let Ymir’s shell mess up the boss fight. One bad move here is like forgetting your power-up at crunch time.
-
Figaro Castle – Head into the desert where you meet King Edgar. His vibe brings down shop prices so you can stock up on gear fast.
-
South Figaro Cave – Run into Shadow and mentor Duncan while Sabin’s Blitz takes down Vargas. It’s like setting up the perfect combo attack right before a big match.
-
Mount Kolts and the Returners’ Hideout – Decline Banon’s offer three times to unlock a neat reward. Then decide your path with three options: team up with Locke, roll with Terra/Edgar/Banon, or stick with Sabin.
-
Phantom Train – Board the train for a show-stopping scene where Sabin’s Meteor Strike Blitz makes a jaw-dropping entrance. Pure cinematic action!
-
Veldt – In Mobliz, grab some raw meat and bump into Gau. Recruiting him boosts your squad’s skills, just like adding a secret weapon to your lineup.
-
Esper World and Sealed Gate – Battle spooky ghosts to learn Fira, Blizzara, and Cura, then grab the controls you need for the airship. It’s a game-changer, no joke.
-
Floating Continent – Tackle a tricky maze, welcome Shadow to the crew, and beat the Ultima Weapon using Peace Rings and Amulets. It’s a tough boss fight that feels like a final showdown.
Ready to gear up with more tips and tricks for each stage? Dive into the detailed sections below and get set for an epic adventure!
FF6 Walkthrough: World of Balance Stage Guide

Act 1: Narshe to Returners’ Hideout
Start your adventure in Narshe with Terra rocking a cool Magitek armor. You'll see an epic Esper entrance and meet Locke for the first time. Tip: Line up your team smartly to handle the early rush. Think of it like setting your front line for a fast counterattack.
Next, head to Figaro Castle. Wander the desert for resources and hidden items, but keep your eyes peeled for hazards and extra enemy surprises. Tip: Scope out the area and then target those weak spots like a pro.
In South Figaro Cave, recruit Shadow and take on Vargas. Timing is key here: mix quick combo moves with extra defense to keep Shadow safe while dealing intense damage.
Finally, trek through Mount Kolts to the Returners’ Hideout. You’ll navigate tricky corridors, including a serpentine trench, and solve puzzles along the way. One neat trick is to refuse Banon’s offer three times during an early dialogue to unlock a bonus reward. Tip: Remember every path and dialogue choice, they might hide secret power-ups!
Act 2: Esper World to Floating Continent
At the Opera House, get ready for an Ultros showdown during a stage performance. Tip: Stock up on status boost items and time your buffs right before Ultros attacks. It’s like pressing the perfect defense button at just the right moment.
Over at the Magitek Research Facility, make sure your party is at least level 15 and don’t miss those key chests. Plan your escape routes ahead of time in case enemies swarm. Tip: Map your moves while snatching loot, like setting up the perfect getaway.
During the Thamasa rescue, save Strago and Relm in a fiery house bomb fight using Aqua Breath. Aim your head-on attacks with precise timing to throw off the boss’s game plan. Tip: A well-timed Aqua Breath can flip the battle just like landing the final punch in a winning combo.
When you’re at the Espers’ Gathering Place, use Relm’s Sketch ability on Ultros. Timing here is everything, strike when Ultros is off-guard for a big advantage. Think of it as hitting a perfect combo in a critical game moment.
Finally, on the Floating Continent, get set for a Sky Battle where water spells help you take out Typhon’s twin guns while you clear a maze-like path. In the final showdown against the Ultima Weapon, make sure you equip Peace Rings. Tip: Save Peace Rings for this boss fight and practice your spells in the maze, like gearing up for the ultimate challenge in a timed game.
FF6 Walkthrough: World of Ruin Expedition
After the World of Ruin kicks in, your first stop is Nikeah. Grab your gear, dive into the thief ship scene, and recruit Gerad, a solid boost for your crew. Then head over to South Figaro Overworld, where every cave and house hides a rare relic, you need four of these power-ups to flip battles in your favor.
Next, swing by Kohlingen. Getting back together with your team feels like unlocking a secret bonus level. Once you’re there, push west toward Darill’s Tomb to nab must-have items like the Growth Egg and Dragon Claws. Think of it as snagging that hidden upgrade right when you need it most.
When you hit Maranda, the stakes get even higher. Check the western box to grab Revivify, a lifesaver for reviving fallen allies, and don’t miss the eastern box holding Remedy for curing nasty conditions. And hey, swing through local shops to stock up before you tackle the final climb.
Out on the outskirts of Vector, break open barrels to score extra Tinctures and X-Potions, kind of like picking up power-ups right before an epic boss fight. Every landmark and hidden item is a key piece in this underworld quest, setting you up perfectly for what’s coming next. Stick to these steps, and you’ll be ready to conquer the World of Ruin in no time.
FF6 Walkthrough: Kefka’s Tower Final Confrontation Blueprint
| Tower Section | Boss | Recommended Party |
|---|---|---|
| East Wing | General Leo | Terra, Locke, Edgar |
| West Wing | Daryll | Sabin, Cyan, Gau |
| South Wing | Ultima Weapon | Celes, Shadow, Strago |
| Final Confrontation | Kefka | Balanced party with a healer and magic damage specialist |
Every wing of Kefka’s Tower brings its own obstacles, so it’s key to plan your moves like you’re setting up a winning raid strategy. Start in the East Wing where General Leo will push you to the edge with his forceful strikes. Bring Terra, Locke, and Edgar to quickly break his defenses, you know, like clearing an early level boss before things get too heated.
Then, move on to the West Wing. Here, Daryll is waiting, and you’ll want Sabin, Cyan, and Gau on your team to hit fast and mix in some smart counter moves. After that, power through the South Wing where the Ultima Weapon awaits. For this fierce encounter, a group of Celes, Shadow, and Strago can dish out ranged attacks, physical hits, and support skills all at once, covering all bases.
Finally, it’s time for the ultimate showdown with Kefka. At this point, every decision counts, so make sure you’ve got a balanced team with a dedicated healer and a magic damage specialist. Think of this guide as your playbook, helping you switch tactics as you tackle each wing. Adjust your party setup based on what each section demands, and you’ll be all set to beat Kefka’s wild, unpredictable barrage.
FF6 Walkthrough: Treasure and Chest Locations Guide
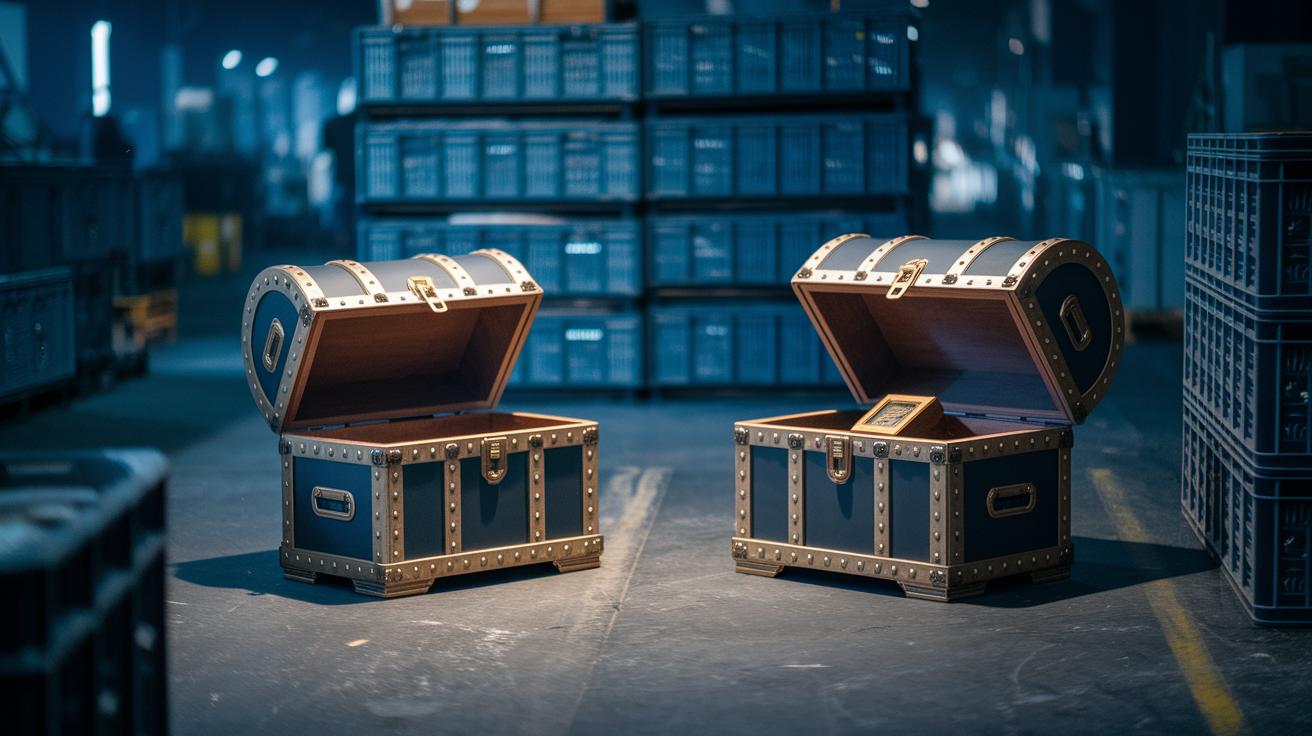
In the Magitek Factory, your goal is to crack open all twelve chests. Each one hides cool gear like the Flame Sabre, ThunderBlade, X-Potion, Zephyr Cape, Dragoon Boots, and even the rare Break Blade. And don’t forget to hit the crates near the final platform, those secret spots can drop extra Tinctures and Remedies that might just save you in a tight fight.
Over in Albrook, the adventure rolls on. Check out the café clock to grab an Elixir Pot and then swing by the weapon shop to pick up a Tincture. Want a pro tip? Knock over the barrel next to the inn to reveal a hidden Potion. In Zozo, setting the clock tower’s puzzle to 6:10:50 is your ticket to scoring a Chainsaw, a neat addition to your arsenal. Finally, in Maranda, be sure to open both the left and right boxes to gather the Revivify and Remedy, you’ll appreciate those rare relics when battles get intense.
FF6 Walkthrough: Esper Summoning and Magic Growth

Inside the Esper Cave north of Thamasa, you face a special puzzle that mixes the flicker of a flame with the rush of a waterfall. Keep an eye on the flame’s dance and the water’s flow, when the flame dims just for a moment before the waterfall picks up its beat, that’s your signal. It’s like waiting for the perfect moment to land a game-winning move in your favorite match. Get the timing right, and you’ll unlock awesome Espers like Shiva and Ramuh while adding powerful spells to your magic arsenal.
Steps for the Esper Cave puzzle:
- Watch the flame and water closely for their cues.
- Wait for the brief moment when the flame fades.
- Hit the switch exactly at that moment.
- Double-check the sequence to unlock the Esper team.
If you need info on Strago’s house or Relm's Sketch, check out the World of Balance Stage Guide. For now, focus on these puzzle clues to level up your ability chart and finish your monster index checklist.
FF6 Walkthrough: Party Building and Combat Strategies

When you’re setting up your party, aim for rock-solid synergy by pairing your heavy hitters with strong support. Try positioning two fighters next to each other so one’s buff immediately ramps up the other’s critical strike. Ever notice how a well-synced strategy can make or break a boss fight?
Take elemental synergy to the next level. Use a quick offensive spell to get an enemy ready for a powerful physical combo. Experiment with timing your abilities so that each support move clears the way for a big, decisive hit. Watch enemy patterns and adjust your positioning on the fly to intercept attacks and activate useful status effects.
Here are a few ideas to try:
- Place high-damage characters next to close-range support.
- Cast offensive buffs just before unleashing your major damage burst.
- Switch up your formation based on what the enemy is doing.
| Tactic | Benefit |
|---|---|
| Synergistic Pairing | Boosts combo damage and covers defense |
| Real-Time Positioning | Makes it easier to interrupt enemy moves |
FF6 Walkthrough: Side Quests and Hidden Paths Guide
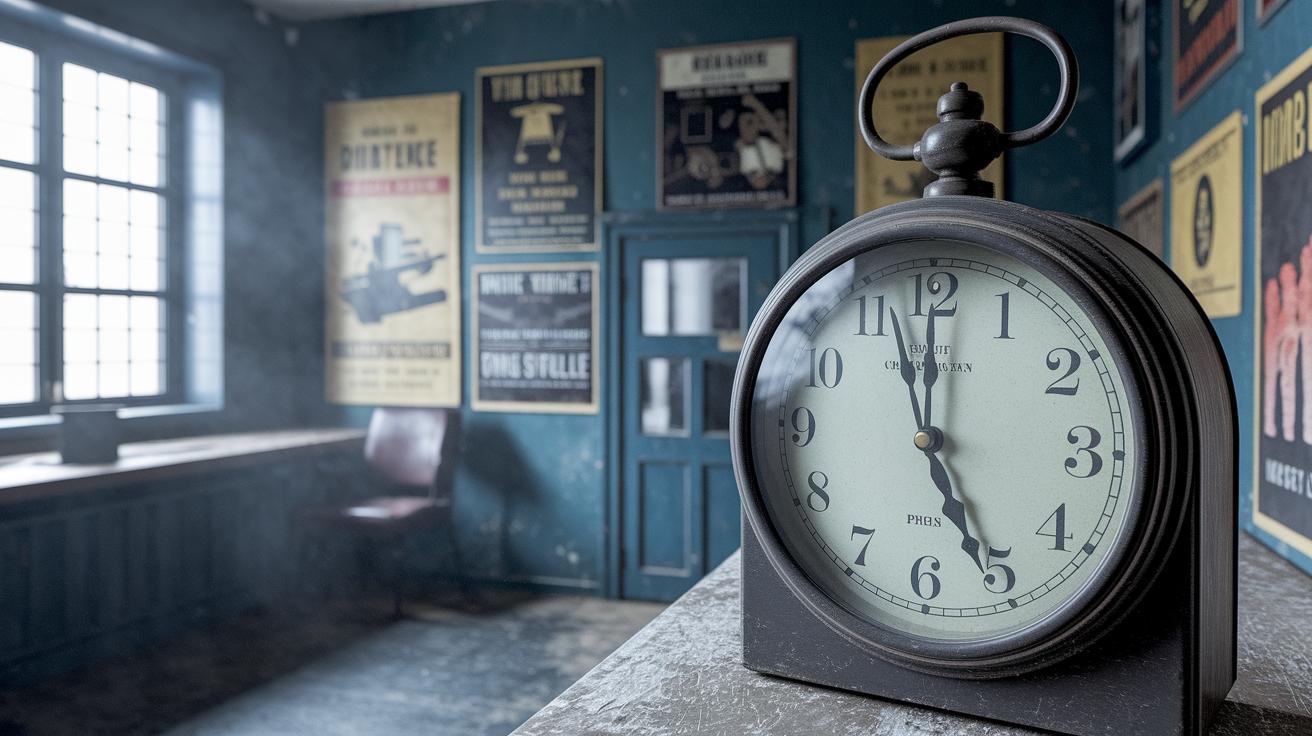
To kick things off, try solving Zozo’s clock puzzle by setting the tower clock to 6:10:50. This move unlocks the Chainsaw and gives a nod to a neat puzzle trick. In the Vector Banquet, you’ll come face-to-face with 24 soldiers, so steer clear of the fighters if you want to grab the rare Tintinnabulum relic. It’s all about spotting hidden corridors and turning an ordinary check into a rewarding hunt.
Next up, when you hit the deserted island, don’t think of Celes’s fishing mini-game as just a bit of fun. The number of fish you catch directly changes her ending, adding a cool secret twist to her story. Over in Mobliz, boost your tactical play by renting a chocobo and slapping on some Reflect Rings to side-step dangerous traps. This smart strategy sets you up perfectly for the showdown with Humbaba, where a win could land you the rare Gaea’s Flute, a prize that really packs a punch.
Finally, tackle the Opera House performance by nailing your timed defense against Ultros during his attack. Afterward, head back to Maranda and explore its secret boxes. One box holds Revivify, while the other hides Remedy. Wrapping up these side quests will round out your gameplay, making your overall experience that much more epic.
Final Words
In the action, we broke down the essential stages of an ff6 walkthrough, from the starting magitek battles in Narshe to the final confrontation in Kefka’s Tower. We mapped out key side quests, hidden paths, and clever combat tips that boost your gameplay.
This guide not only sharpens your skills but also keeps you in the loop with every evolving twist and challenge. Keep experimenting and stay upbeat as you immerse yourself in this classic adventure.
FAQ
Q: What is the FF6 walkthrough Pixel Remaster?
A: The FF6 walkthrough Pixel Remaster guides players through the updated graphics version, explaining major segments and boss strategies in clear, step-by-step tips for a smooth playthrough.
Q: What is the FF6 map?
A: The FF6 map highlights all key areas like Narshe, Figaro Castle, and Kefka’s Tower, giving players a clear overview of critical segments and landmarks for better in-game navigation.
Q: What is the FF6 walkthrough on GameFAQs?
A: The FF6 walkthrough on GameFAQs provides a thorough guide with detailed stage-by-stage breakdowns and battle strategies, ensuring you’re set for every challenge throughout the game.
Q: What is the FF6 walkthrough SNES?
A: The FF6 walkthrough SNES is crafted for the original version, offering tips tailored to classic controls and essential routes, so players get the most out of the beloved retro experience.
Q: What is the FF6 walkthrough with pictures?
A: The FF6 walkthrough with pictures uses visual guides alongside written instructions, making it easier for gamers to follow key steps, locate items, and tackle boss encounters confidently.
Q: What is the FF6 walkthrough GBA?
A: The FF6 walkthrough GBA focuses on the unique features of the handheld version, explaining control differences and in-game strategies to help you manage menus and battle tactics effectively.
Q: What is the FF6 walkthrough World of Ruin?
A: The FF6 walkthrough World of Ruin details the post-transition phase, outlining recruitment triggers, relic spots, and boss strategies to guide you through the more challenging, darker storyline.
Q: What is the FF6 walkthrough on Steam?
A: The FF6 walkthrough on Steam is designed for PC players, offering advice on control settings, enhanced graphics options, and troubleshooting tips to ensure a smooth digital gaming experience.

