Ever wonder if a few smart moves early on can lead to epic wins in FF1? Starting out in Cornelia isn’t just about getting on the map; it’s your chance to build a team that can handle any challenge. This guide walks you through simple yet powerful tips on grabbing the right gear, planning your level-ups, and getting your squad ready for big battles. Think of it as your go-to blueprint for turning little victories into moments of glory in your FF1 adventure.
Starting Out in Cornelia: The First Steps of Your FF1 Walkthrough

Your adventure kicks off right outside Cornelia’s castle and town on the world map. Grab your map, and you’ll quickly see the roads and landmarks. Head north into town since your party is still a bit light. This moment sets the stage as you start planning your level-ups and building a strong team.
Exploring Cornelia is a must whether you’re new to the game or a seasoned player. Think of the town as your go-to spot to check your team’s strengths and weaknesses, and to map out your upgrades. Early choices, like picking the right shop for gear or finding spots for quick leveling, really shape your whole game. Taking care of these details now makes future battles less daunting and boosts your overall game confidence.
| Tip | Description |
|---|---|
| Party Composition | Fighter, Thief, White Mage, Black Mage |
| Key Items | Must-buy gear at Cornelia’s shops |
| Grinding Spots | Ideal areas for leveling at stages 2–3 |
| Starting Spells | Essential spells and optimal magic allocation |
| Gil Strategies | Tips for earning Gil quickly |
Stick to these early tips for a smooth FF1 walkthrough. With smart planning and resource management, Cornelia isn’t just a town, it’s your launchpad for epic wins. For example, figuring out which shop stocks that crucial healing potion will keep your team ready for battle. Every small victory now builds toward an awesome adventure in FF1.
FF1 Walkthrough: Confronting the Chaos Shrine – Garland Boss Encounter and Options

When you step into the Chaos Shrine, you can almost feel the tension in the air. The narrow hallways and low-lit arches set a chill as soon as you’re inside, hinting that something dangerous might be waiting around the next corner. Every twist in the shrine feels like it could hide a trap or an enemy ready to ambush, so it’s best to move carefully and keep your guard up.
Taking on Garland, the shrine’s first real challenge, is all about smart fighting and teamwork. He smacks you with quick physical attacks and then surprises you with bursts of magic that will test how well your team can adapt. Make sure your party is nearly at full health and that you’ve got a good mix, a fighter to soak up hits, a white mage to heal, and some solid damage dealers to pounce on the openings he leaves. Ever remember that intense old cartridge moment when every move mattered? That’s what it feels like here. If you try fighting him too early, say before level 4, his fast moves might catch your team off guard and lead to a quick defeat. Instead, watch his attack patterns and consider leveling up or gathering a bit more power if you’re not feeling ready.
Going straight into the fight with Garland is a wild rush, but it also comes with big risks. On the other hand, holding off lets you gear up, collect resources, and polish your combat skills. So, think about how ready you are, do you want to dive right in for that heart-pounding challenge, or is it smarter to take a breather and come back stronger?
FF1 Walkthrough: Visiting Matoya’s Cave to Reach Pravoka Town
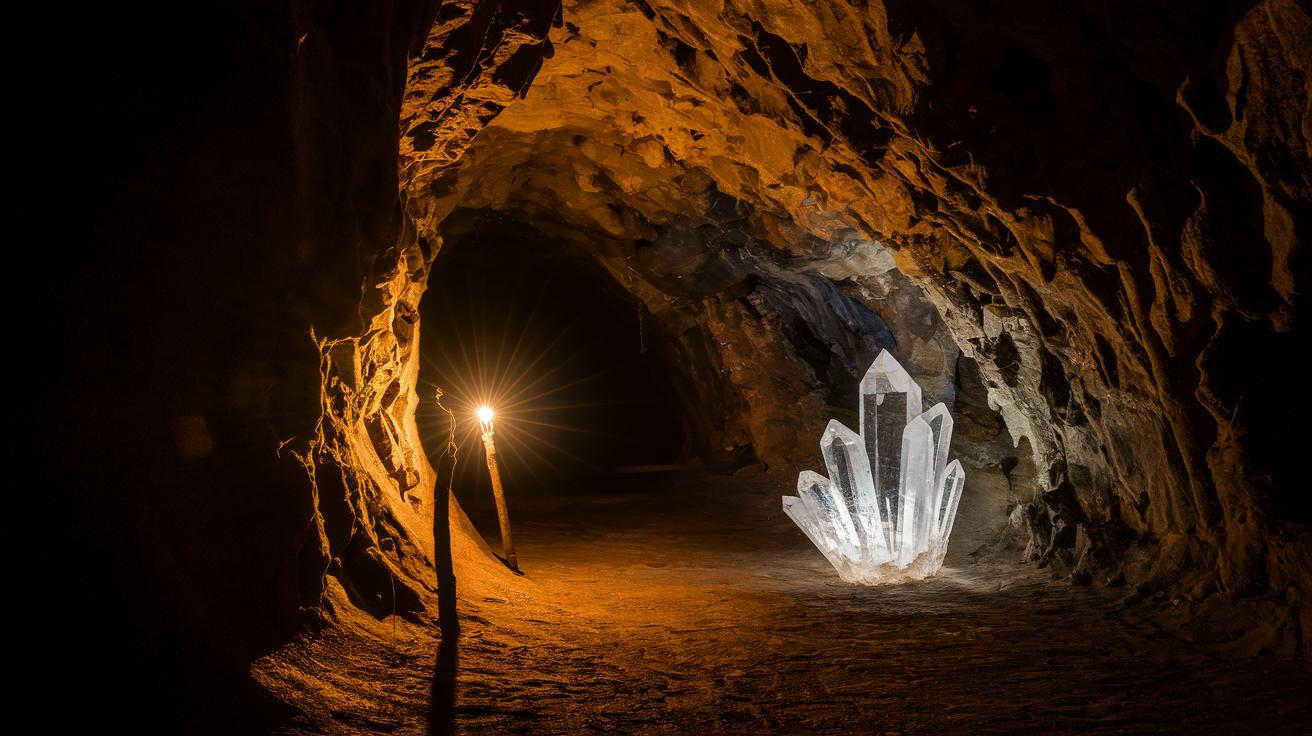
Matoya’s quest kicks off right after the Shrine when you step into her mysterious cave. Inside, the witch is waiting with a special request, she’s lost her sight and needs the Crystal Eye to see again. It’s like stumbling into a bonus round where every hidden clue counts, much like checking under every rock in a secret level.
In the cave’s shadowy corners, your main task is to hunt down the elusive Crystal Eye. You might find it tucked near flickering torches or behind stones that seem out of place. Many gamers have found that a careful sweep of the area, along with a few test taps on suspicious panels, uncovers the gem. Think of it as unlocking that extra level bonus that boosts your confidence for the rest of the journey. Keep your party spread out a bit to cover more ground, and don’t forget, a tiny glint off a damp wall might be the clue that saves your turn.
Once you’ve grabbed the Crystal Eye, exit the cave and head east towards Pravoka Town. The way is pretty straightforward, but stay on your toes, unexpected encounters might pop up just before you reach your next town.
FF1 Walkthrough: Seafaring to Elfheim and the Marsh Cave Crown Expedition
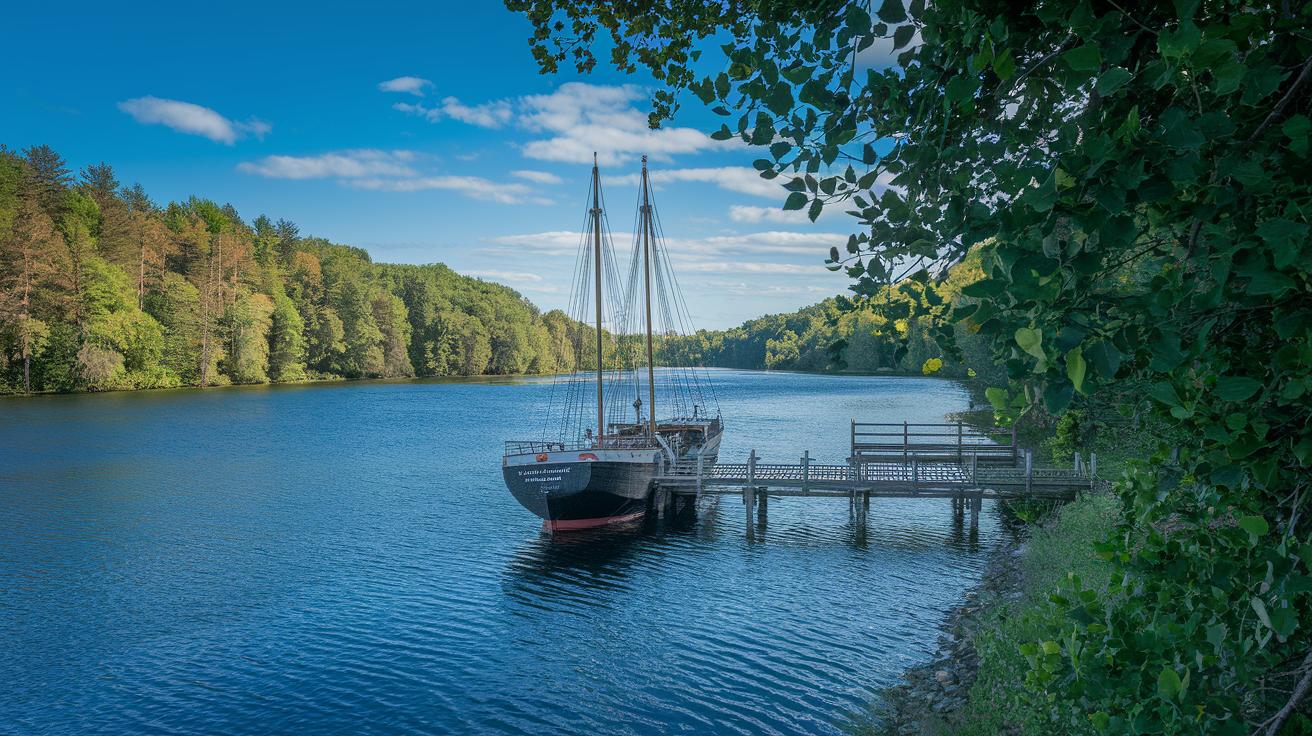
First up, lock down your ship in Elfheim, it’s your gateway to wild open-sea adventures. When you hit Elfheim, make a beeline for the docks so you can buy your vessel and check out the world map. From there, plot a course north to pick up coastal hints and then turn west; the map clearly points the way if you watch for landmarks. It’s kinda like getting prepped for a final boss fight, choose the right ship and route and you’re set. Fun fact: securing a ship can feel like upgrading to a legendary weapon that totally transforms your travel game. Treat this stage as your warm-up before the big action.
Next, the Marsh Cave might look spooky at first, but with a little strategy, it’s totally doable. Think of it as a mini maze with twisty paths and secret rooms ready for the taking. Stick with your crew and sometimes split up to cover more ground, but keep an eye out for key paths. Follow the main corridor near the clear map markers and watch for hints like a flickering light or a faint sound that might mean a secret door is nearby. Jumping into this maze with a solid game plan is like entering an arena with a full playbook of your rival’s moves.
Finally, your mission is to nab the stolen Crown from deep inside Marsh Cave and make it back to Elfheim safely. Once you spot the Crown hidden behind a guarded room, be ready to take on a couple of mini-bosses blocking the exit. Grab your loot and then carefully backtrack along the coast route as shown on your map, just like retracing your steps after clearing a tough dungeon to make sure you snag every precious item. This whole run packs some epic wins and keeps you on track for the next big leap in your FF1 journey.
FF1 Walkthrough: Restocking in Elfheim – Essential Items and Town Resources

When you drop back into Elfheim, the local shopkeepers are your best friends for keeping your crew in top shape. They aren’t just there to fix you up, they offer cool upgrades and power-ups that can really make a difference when the action ramps up. The apothecary, for example, is loaded with recovery items and stat boosters that come in clutch when your health is low. And the gear vendor? They’ve got the best affordable upgrades at this stage, so you’re set to face tougher challenges. Every vendor here plays their part in keeping your run smooth, and picking the right items can really save you in a crunch.
Focus on grabbing these must-have items to keep your adventure rolling:
- Crystal Eye: If you haven’t used it yet, this will restore Matoya’s sight and unlock new interactions.
- Jolt Tonic: Gives you a quick health boost during tight skirmishes, keeping you in the fight.
- Mystic Key: Opens locked doors and secret chests that hide valuable rewards.
- Nitro Powder: Speeds up your crew’s recovery time and can revive a teammate when things get rough.
FF1 Walkthrough: Mt. Duergar to Terra Cavern – Overcoming the Earth Cave
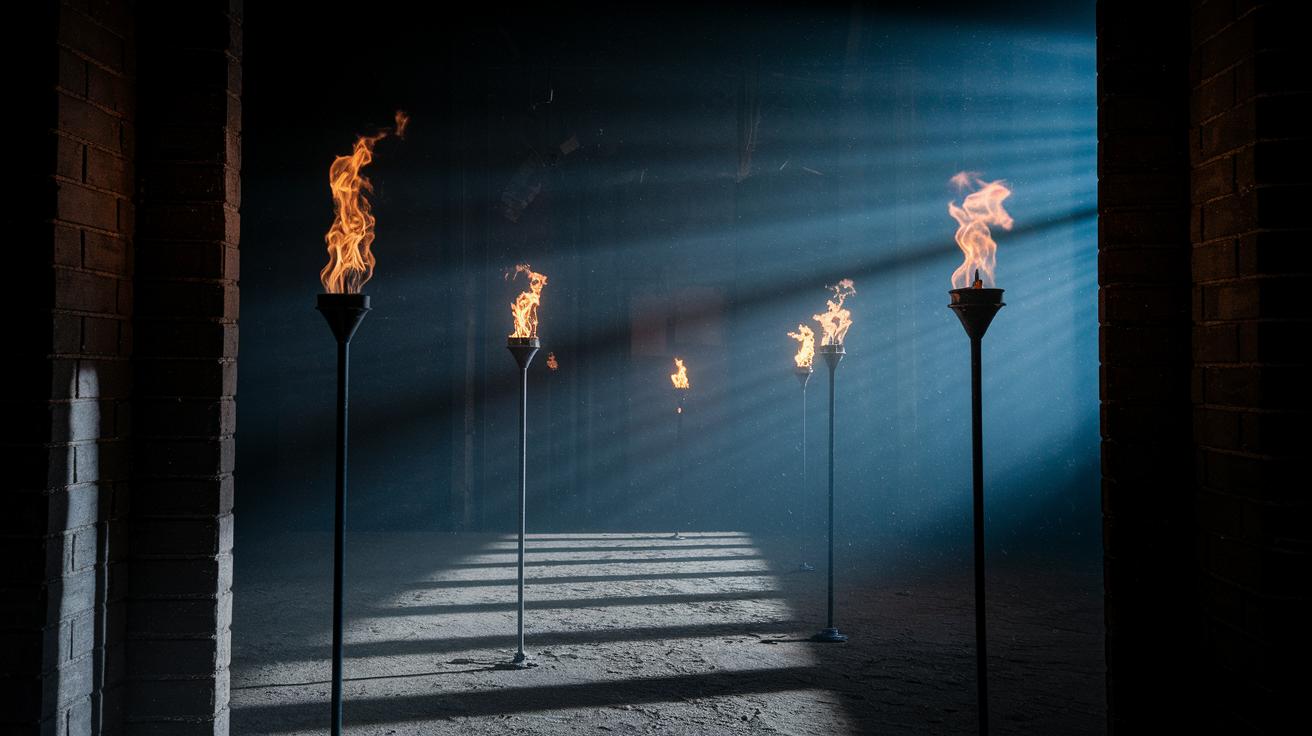
Starting at Melmond, you head into the Cavern of the Earth, a five-floor dungeon filled with Elemental Fiends. You’ve got to plan your moves and use those save points smartly to keep your crew fighting fit. Every floor throws something new at you, from secret puzzles to mini-boss battles that really test your strategy. Imagine stepping through a shadowy hallway with flickering lights showing the way. It all comes down to keeping your eyes peeled and thinking a few steps ahead.
- Floor 1: The first floor is simple but dangerous. Spot a save checkpoint hidden behind a fallen beam, and be ready for swarms of small enemies that can overwhelm you if you let your guard down.
- Floor 2: It’s puzzle time! Near some glowing torches, you’ll come across a trigger that sets off a brain-teaser. There’s also a small safe room where you can grab healing items after quick skirmishes.
- Floor 3: Watch out, a mini-boss lurks among the crumbling ruins. Use the nearby safe corner to save your progress after the fight and brace yourself for a sudden burst of elemental attacks.
- Floor 4: Things get trickier here with hidden switches and shifting walls. There’s a save spot close by that lets you catch your breath and plan your next move.
- Floor 5: The final floor leads to the exit and is guarded by the toughest Elemental Fiend around. Hit the crucial save point near the exit to boost your morale before diving into the final clash.
As you progress through the cavern, be smart about leveling up your skills. Use the safe zones between floors to enhance both your offense and defense, kind of like upgrading your gear in your favorite RPG. Focus on abilities that match your team’s playstyle. By spending your experience points wisely during those mini-boss fights and tricky puzzles, you’ll build a tough, balanced squad that’s ready to take on any enemy in this challenging dungeon.
FF1 Walkthrough: Titan’s Cave, Marilith Battle, and Southern Route
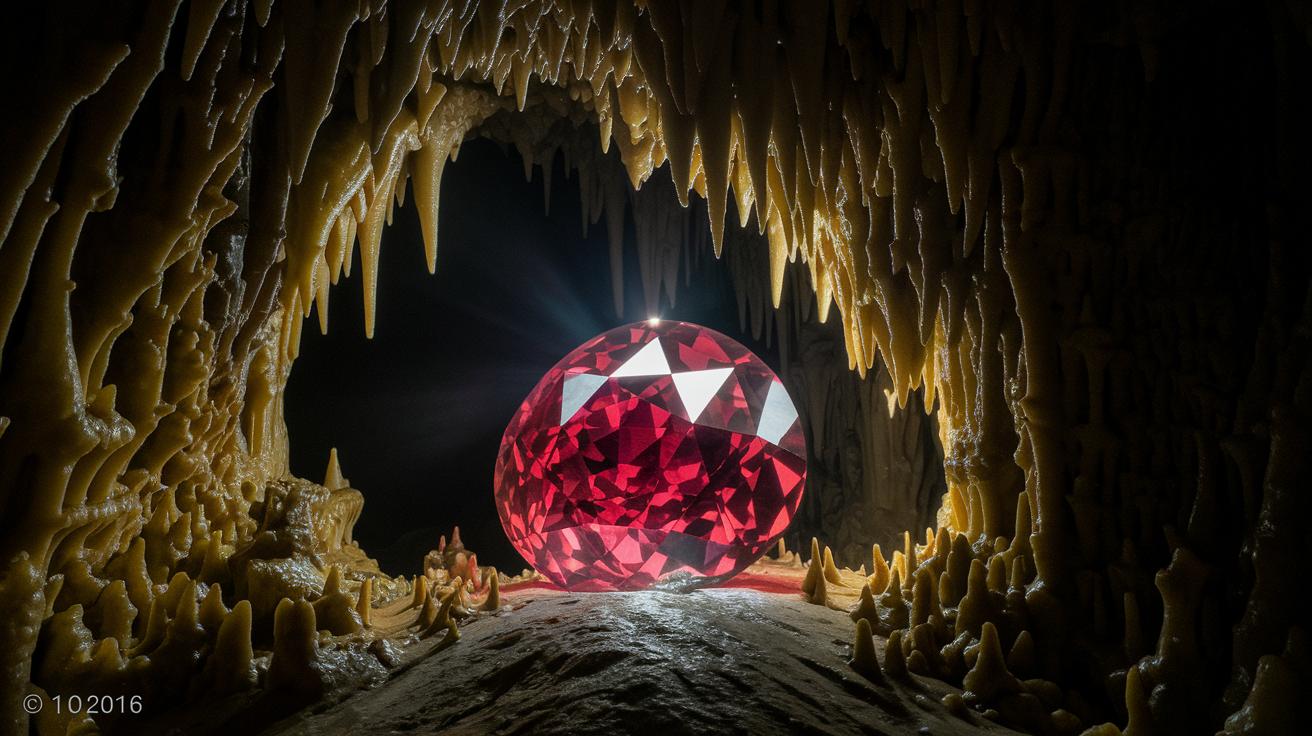
After you beat Terra Cavern, a mysterious ruby points you to Titan’s Cave. Here, you'll bump into several story characters who share cool secrets and vital lore. The area is packed with hidden spots and secret passages that feel like bonus levels, each one loaded with handy tips. One character might tell you about a special item to help with tough enemies later, while another hints at a secret route that can totally change your strategy. It’s like every conversation unlocks a bit more of the game’s mysteries.
Next, you cruise through Crescent Lake and then face the steep climb of Mount Gulg, where the feared Marilith is waiting. As you close in on Marilith’s lair, use all the insights you picked up from Titan’s Cave. Stick to the smart map markers to keep on course. After a nail-biting battle with the Marilith boss, where you really need to think fast and act even faster, make sure to swing back to Melmond to catch your ship. This route tests your fighting skills and rewards you with cool resources for your next adventure.
FF1 Walkthrough: Ice Cavern Challenge and Acquiring the Airship
Stepping into the Ice Cavern is like diving into a frosty trial where every corner brings a new challenge. The floors are slick, ice foes lurk around, and puzzles pop up to test your quick reflexes. Keep an eye out for moving walls and hidden levers, these might reveal secret pathways, just like uncovering a sneaky shortcut in your favorite game.
Midway through, you’ll bump into a boss that cranks up the heat with sharp ice shard attacks. Before you jump in, hit the checkpoint to save your progress and grab any healing items you need. It’s best to prep your team with a good mix of offensive and defensive spells so you can dodge that icy barrage without breaking a sweat.
Once you beat the chill of the cavern, your next big win is snagging the Airship. Follow the clues scattered throughout to find secret doors and finally unlock the mechanism that gives you access. Boarding the Airship changes how you play, it opens up new parts of the world and lets you zoom around the map with a crisp, satisfying feel, like upgrading to the latest high-res display during a big match.
FF1 Walkthrough: Airship Operations and Class Promotion in the Northern Peaks

Riding the Airship isn’t just a quick ride, it’s your gateway to new chances for your crew. After flying over the coast, you’ll drop near a town next to Gaia where class promotions are calling your name. You need to have 50,000 Gil saved up to unlock powerful roles like the White Mage and Fighter. Plus, the town is packed with helpful items and gear upgrades to get you ready for tougher battles. It’s like suddenly upgrading your game console, you don’t know how much smoother things can be until you try it. This step takes you from just hanging on to a full-on path for epic wins.
Now, focus on boosting your party’s strength with targeted upgrades and clear skill paths. As your characters level up, put points into magic for the White Mage and strength for the Fighter. Think of it like fine-tuning your loadout: balancing gritty offense and the solid defense you need when battles heat up. Ever felt that rush when every stat and skill slot clicks perfectly with your plan? That’s the magic of a well-built team. Every airship stop is a chance to level up further, securing your crew as new challenges come knocking.
FF1 Walkthrough: The Sunken Shrine Expedition – Kraken Battle and Rosetta Stone
Diving into the Sea Shrine feels like gearing up for a brand new underwater mission. The soft blue light and quiet, echoey sounds create a vibe that gets you ready for the Kraken fight. Here, you'll pick up some handy tips to boost your adventure and grab some secret extras. The shrine is like a tricky maze that tests your smarts, but a little careful planning can really work in your favor. Every twist in those waterlogged halls is a chance to see how well your battle skills hold up when every splash and enemy move counts.
Aim to have your team around level 7-9 before you head into the Sea Shrine. This way, your crew is strong enough to take on the Kraken's weak spots. It also helps to suit up with gear that boosts your water resistance and speeds up your moves, think of it like having a power-up in a tight race.
When facing the Kraken, keep moving to dodge those swinging tentacles and be ready when it launches sudden area attacks. Try targeting its open core when it’s stunned, and always have healing items close by in case of heavy hits.
After you beat the Kraken, your next mission is to find the secret chamber where the Rosetta Stone is hidden. Look around for clues like carved runes and half-hidden murals on the shrine walls. Usually, you’ll spot a locked pedestal tucked away in a quiet corner near the boss area. Solve the simple puzzle by lining up nearby statues, and you’ll unlock the Rosetta Stone. This key item not only gives you major hints for the Flying Fortress quest but also adds a cool twist to your journey.
FF1 Walkthrough: Assembling the Keys – Warp Cube, Rosetta Stone, and Bell for the Flying Fortress
Start by heading for the secret vault where the Warp Cube is hiding. Check your map and look for a hidden spot behind that old, crumbling wall. Keep an eye out for a worn statue and a narrow corridor as you take on small enemy groups and hit those pressure plates. It's like finding a rare in-game item in the nick of time, kind of that rush you get before a boss fight.
Next up, the Bell. This one's out at Mount Gulg. High among rocky outcrops, you’ll need some smooth combat moves to dodge traps and weave through tight paths. Look for a set of hidden switches tucked into a little crevice that keeps the bell secret. Think of it as piecing together a puzzle: every move and coordinate gets you closer to the prize.
Remember, we already talked about how to grab the Rosetta Stone during the Sea Shrine Expedition earlier. Now it’s all about mixing the Warp Cube and the Bell with that stone to unlock the Flying Fortress. Enjoy the adventure and keep your eyes peeled for every little detail!
FF1 Walkthrough: Tower of Mirage – Solving the Desert Puzzle to Advance
Step into the towering Mirage found in the quiet northeast desert close to Lufenia. Look closely at the door and check out the faded symbols and strange marks on the sandy path. Try coming from the side where shadows fall; sometimes they hide secret switches. Ever notice how even a silent door can hold a tricky riddle? This first move sets you up for a careful run-through of the tower.
Inside, every room brings a new switch challenge. In the first chamber, you'll spot a faint lever pressed against the wall, and in the next, a panel hides behind a busted vase. Walk slowly and keep an eye out for small changes in the lighting that point to secret controls. A soft hum or a slight sparkle might just be your sign to press the right button.
As you go deeper, the hallways are loaded with traps. Watch for uneven floor tiles or mosaic pieces that seem out of place, they might hide a pressure plate. Give any suspicious spot a quick tap first to avoid sudden pitfalls. This careful approach saves you from false turns or surprises that can kill your momentum right when you're in the zone.
Finally, at the top chamber, a tough boss is waiting for you. Use the switches you activated to open a hidden path to its lair. The boss uses fast, sneaky moves and dark magic, so time your strikes right. Watch its attack pattern closely, each pause is your chance to counter. Beat this challenge, and you'll feel the thrill of a well-earned victory.
FF1 Walkthrough: The Final Confrontation at the Temple of Chaos and Time Travel
Get ready for the boss fight of a lifetime! Before you jump into battle, check your inventory and make sure your spells and party are all set. Grab plenty of healing potions, mana boosters (to keep your spells running), and revival items in case you need a quick save. Dress your fighter in the best armor and pack the sharpest weapons. Your White Mage should have a solid lineup of healing spells, while the Black Mage needs the heaviest damage spells to hit the boss’s weak spots. Think of your team like setting up a killer game loadout, fighter, Thief, White Mage, and Black Mage, all playing a key role.
Chaos hits in waves, and each phase will push you to use your skills smartly. In one moment, the boss might rain down fast punches and then surprise you with wild magic attacks that force you to switch between offense and defense. Stay alert, watch the boss’s moves, and time your counters right to take advantage of any gap in its attack. Use status spells to slow it down, then strike hard when you see your chance. A small slip-up might cost you precious time, so adjust your plan with every new phase. It’s like those high-stakes rounds where every click matters.
And here’s the twist: when things get really intense, time travel becomes your secret weapon. Thanks to the Flying Fortress, your party is whisked 2,000 years into the past, adding an epic spin to the showdown. In this wild moment, defeating Chaos not only saves your crew but also restores the four Crystals, completely changing history. Every second guiding your team through this time-travel climax makes the win feel even more legendary, just like landing that one epic move in the middle of a frantic match.
Final Words
in the action, the blog post covers everything from beginning in Cornelia to epic boss battles and time-traveling final confrontations. We reviewed early tips, map exploration, and party setups that set you up for a smooth ff1 walkthrough with hands-on advice for each challenge.
The guide breaks down each stage into clear, bite-sized pointers so you can jump in and play with confidence. Ready to sharpen your skills and take on new challenges? Enjoy leveling up and exploring every twist along the way.
FAQ
What does the FF1 Map show?
The FF1 map shows key game locations and routes, guiding your exploration around Cornelia and revealing strategic paths that help set your objectives as you progress.
How do I access the Final Fantasy 1 Pixel Remaster walkthrough?
The Final Fantasy 1 Pixel Remaster walkthrough offers step-by-step directions, whether you’re using IGN or Switch, detailing map routes, boss fights, and item pickups to boost your game performance.
Is there an FF1 walkthrough for the GBA version?
The FF1 walkthrough for GBA provides a tailored guide with instructions and key strategies, making it easier to follow the game’s progress and optimize your play on handheld systems.
Where can I find a Final Fantasy 1 guide pdf or a GameFAQs walkthrough?
The Final Fantasy 1 guide pdf and GameFAQs walkthrough offer accessible text guides that give clear maps, strategies, and tips, perfect for both newcomers and seasoned players looking to refine their game plan.

