Ever wonder if an old handheld classic can still rock your world? In the Minish Cap Walkthrough: Brilliant Game Tips, you get a chance to step into Link’s boots in a game that millions swear by. This guide breaks down neat tricks to solve tricky puzzles and outsmart sneaky foes with cool shield moves and sharp sword slashes. It talks about the best paths to take, secret bonus items, and smart combat moves you might miss if you play solo. Ready to boost your gaming with clear, hands-on tips? Let’s jump in and gear up for some epic in-game moments.
minish cap walkthrough: Brilliant game tips
Released back in November 2004 for the Game Boy Advance and now available on Nintendo Switch with the Online + Expansion Pack, this guide walks you through Link's epic quest in six exciting chapters. It spans areas like Deepwood Shrine to Dark Hyrule Castle, showing you exactly where to find heart pieces, tiger scrolls, and cool upgrades for your shield and sword.
Ever felt that rush discovering a secret in your favorite game? This step-by-step guide breaks down every puzzle, enemy encounter, and hidden objective, letting you breeze through even the trickiest dungeons. The interactive maps give you clear routes so you never lose your way.
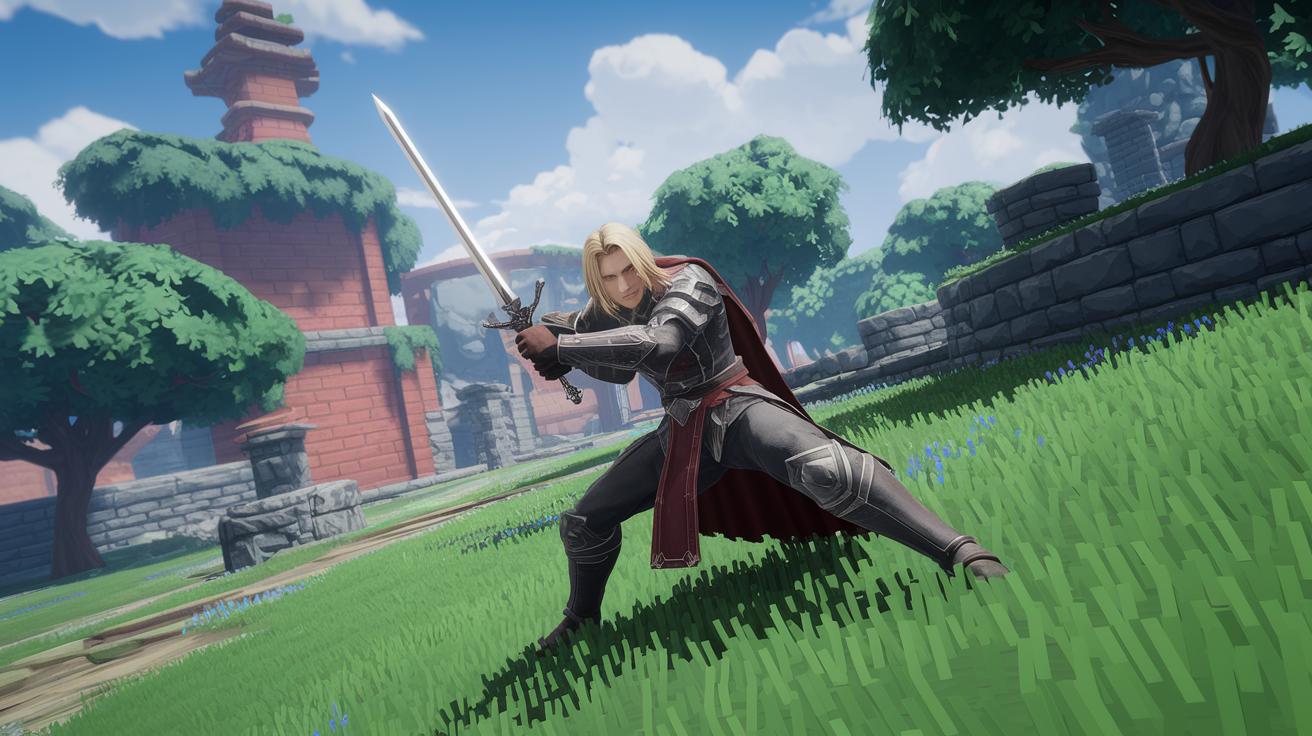
One cool highlight is seeing Link transform from a curious kid into a battle-ready hero as he uncovers every collectible and secret passage. The guide also dives into smart shield moves and sharp sword techniques that make every boss fight and puzzle solve super rewarding.
Wanna check out more Zelda adventures? You can compare this guide with the ones for Link's Awakening Walkthrough and Ocarina of Time Walkthrough. Get these practical tips and detailed routes to level up your adventure and power through like a pro.
Beginning your minish cap walkthrough adventure

After picking a cool name for Link and watching the intro cutscene, the action kicks off right away. You soon head downstairs to join the annual Picori Festival with Princess Zelda, where the energy is through the roof. At the party, Zelda wins a handy shield you can switch between the A and B buttons, perfect for learning the basics like handling items and timing your moves in tight early battles.
At the festival, you’ll notice bustling crowds and fun snippets of character chatter that add real flavor to your adventure. One neat touch is the interactive map that lights up festival routes and vendor stalls, helping you navigate like a pro while you watch Zelda claim her prize.
Before you know it, the pace picks up when you run into an annoying Deku Scrub. Grab your new shield and use it to bounce a nut right back at the critter. This smart move clears the path and hints at hidden treasures waiting around the corner.
Next, you’re tasked with delivering a fresh sword to the minister at Hyrule Castle. This sets off a dramatic scene when Vaati surprises everyone with a sudden attack that freezes Zelda and sends monsters out on the prowl. It’s a turning point that ups the challenge and introduces even more mini hero moments ahead. With every step, from secret item finds to those clever map tips, the adventure remains engaging and true to its epic roots.
Just remember to follow every cue, mastering these early moves sets you up for the challenges ahead. Ready to level up? Let's get going.
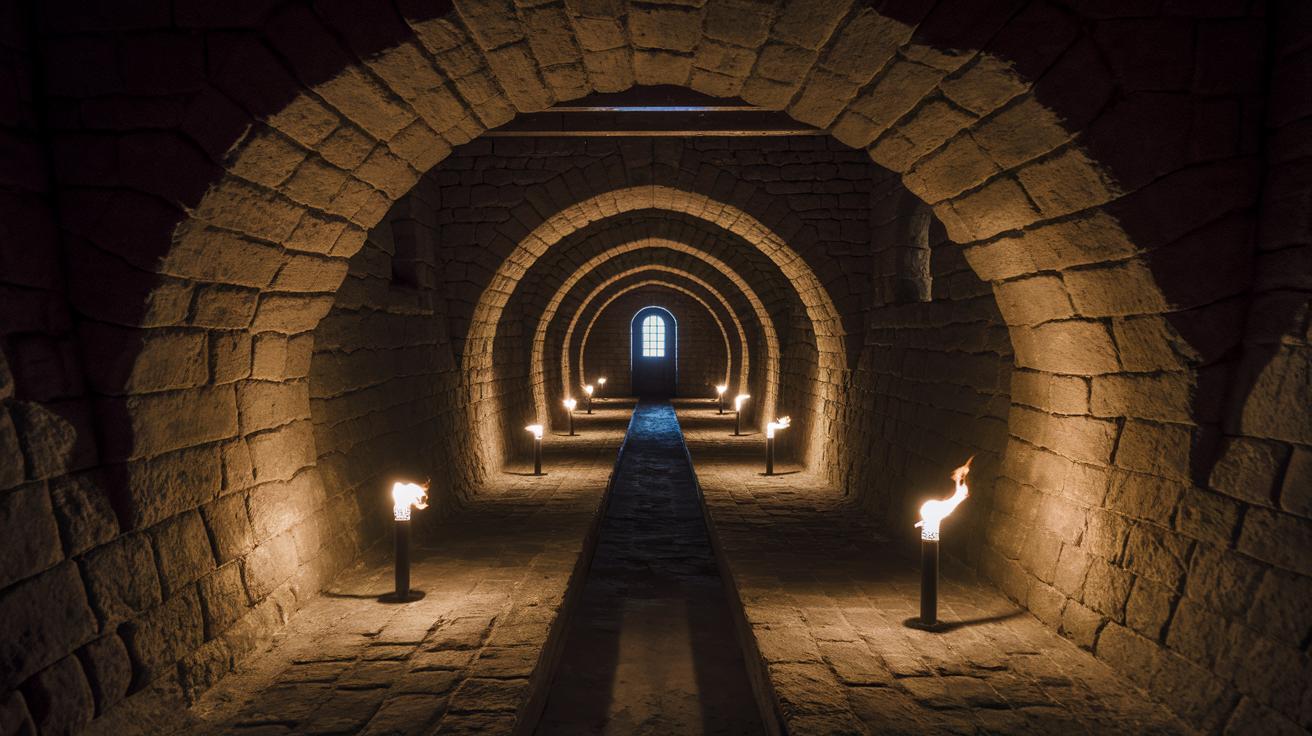
Navigating the Deepwood Shrine in minish cap walkthrough

After Zelda got turned to stone, Link heads into the mysterious Minish Woods on a mission to find the Deepwood Shrine and reconnect with the Picori. Inside the shrine, you face a series of puzzles and platform challenges where every move counts. As you explore the dim hallways, remember to use Ezlo’s shrinking power by pressing the R button while standing on a tree stump. It’s a neat trick that lets tiny Link slip into secret areas regular Link just can’t access. Every puzzle you solve brings you one step closer to reassembling the Picori Blade, making your journey all the more important.
Shrine puzzle mechanics
The shrine packs three key puzzles that test your timing and strategy like a tough level in your favorite game. Start by looking around for clues, hidden switches behind plants or loose blocks might be the key. When the path is blocked, shrink down and squeeze through narrow gaps. At one point, you might face a sliding stone puzzle that opens a secret chamber if you hit the right move sequence. If you’re stuck, don’t hesitate to backtrack and try a different order, kind of like switching up your combo in a heated fight. Remember, every piece of the puzzle is part of your winning strategy!
Shrine guardian strategy
A mini-boss stands in your way with aggressive, patterned attacks that demand your full attention. Watch its moves closely, it will charge and then pause, giving you just the right moment to block with your shield. Follow up quickly with a sword strike to counterattack, much like landing a perfect hit in your favorite brawler. Every move matters, and timing is everything on this battlefield.
Conquering Cave of Flames & Fortress of Winds in minish cap walkthrough
In Chapter 2 (Cave of Flames) and Chapter 3 (Fortress of Winds), you'll face hot lava and wild winds that test your timing and quick thinking. Here, Link must dodge dangers, hit switches, and keep moving forward through tricky puzzles.
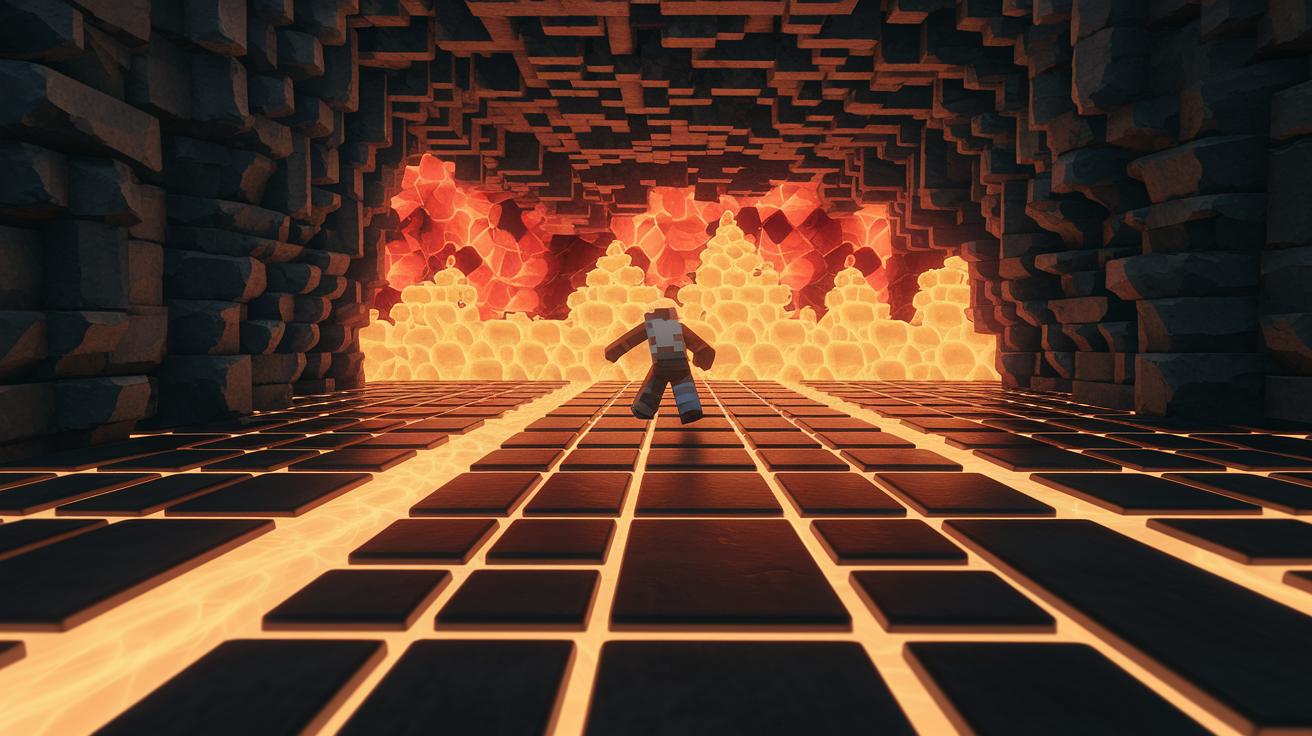
Cave of Flames hazard navigation
In the Cave of Flames, you’ve got to dodge lava and beat tricky platform puzzles. Look around for cool tiles that aren’t burning, and time your jumps by watching for hints in the animations. When you hit a switch, take a moment to check your plan before moving on, it might drop a bridge or open up a new path. Don’t rush; one wrong move could send Link back to the start. Try these steps:
- Spot the safe, cool tiles amid the hot lava.
- Time your jumps with the moving platforms.
- Watch environmental cues to hit switches and clear your way.
Fortress wind puzzle walkthrough
Next up is the Fortress of Winds, where gusts can really throw you off balance. Here, the wind can push Link around as he navigates high ledges and hidden platforms. Your best bet is to use the shield to steady him when the wind picks up. Keep an eye on the wind’s shifts, it changes strength and direction unexpectedly, and the map might even point out safe zones. This way, you know when to move fast or jump to avoid being blown away. Follow these tips to beat the challenge:
- Watch the wind’s patterns and time your moves.
- Use your shield to hold steady against strong gusts.
- Jump quickly from one safe ledge to another to stay on course.
By using these tactics for both the Cave of Flames and the Fortress of Winds, you'll help Link overcome these early challenges. Stay alert and nimble, and soon you'll be ready for anything the game throws your way!
Mastering Temple of Droplets & Palace of Winds in minish cap walkthrough

Link faces two tough challenges in these water and wind dungeons where timing is key and puzzles demand a bit of brainpower. In both the Temple of Droplets and the Palace of Winds, you’ll need to master the Krakka Dagger and shield to steer water flows and air currents, unlocking secret paths and hidden goodies.
Temple of Droplets water puzzle deconstruction
Inside the Temple of Droplets, you’ll hit three water puzzles that block Link from moving ahead. First off, you need to tweak water valves by using the Krakka Dagger so that the water flows toward a hidden switch just out of sight. Keep your eyes peeled for patterns in the water and don’t forget to check behind floating platforms, sometimes a secret lever is hiding there, waiting for you. One clever move is to hold your shield in the way of a stray stream; this builds up the water pressure just long enough to trigger a mechanism.
- Hang out near the central cascade and explore the twisty water channels.
- Use the dagger to steer water in those tight corridors.
- Scope out hidden switches tucked behind watery curtains that only show up after you change the water’s direction.
Every puzzle forces you to reexamine your route so you can hit all the must-activate switches. Solving these not only opens secret doors but also brings bonus items that boost Link’s abilities.
Palace of Winds airflow strategies
Over in the Palace of Winds, the game flips by trading water for sneaky air currents. Here, you need to time your moves just right as shifting wind tunnels try to blow you off track. Use your shield to steady Link when those gusts hit and employ the Krakka Dagger to adjust light obstacles that the wind pushes around. Watch for moments when the air calms down so you can safely jump onto ledges.
- Keep an eye on wind speeds and track down spots where the currents back off.
- Plan your moves carefully in the open air passages to stop yourself from getting swept back.
- Look out for treasure chests hidden in the wind-swept corners of each room.
Nailing these airflow tricks clears the path ahead and scores you secret rewards scattered throughout the breezy corridors.
Final showdown in Dark Hyrule Castle minish cap walkthrough
Chapter 6 brings you to Dark Hyrule Castle, the biggest test yet with winding wings and secret corridors ready to throw surprises your way. Every hallway hides a twist or two, so take your time mapping out your path. Doing so not only helps you progress but also uncovers hidden spots with health boosts and key items. It’s like exploring a treasure map, each turn could be a bonus or a sneaky trap.
As you move through the castle's maze-like halls, remember that clever dungeon tactics are your best friend. Keep a mental note of secret rooms and hidden shortcuts to dodge enemy ambushes and avoid getting caught in traps. These moves also help you snag power-ups and safe spots before you face the big showdown.
When you finally arrive at Vaati’s lair, get ready for a multi-phase boss fight that will test both your reflexes and your planning. In the first round, Vaati challenges you with fast, sweeping attacks that require perfect timing to block and counter. Then, as the fight heats up, his moves become wild, a mix of long-range strikes and sudden heavy charges that demand you switch gears fast.
Here are a few quick tips for battling Vaati:
| Tip | What to Do |
|---|---|
| Study his moves | Watch his timing to know when to strike or block |
| Use secret passages | Find brief breaks to catch your breath |
| Stay agile | Move quickly to adjust as his attacks change |
Each stage of the battle needs a new game plan. Stay cool, use your items wisely, and keep adjusting to Vaati’s shifting style. By carefully mapping the castle and timing your moves, you’ll be ready to overcome these challenges and help save Princess Zelda.
Collectible heart fragments, tiger scrolls, and kinstone upgrades in minish cap walkthrough

Link’s adventure is loaded with secret treasures that boost his skills. Check out these must-find items on your journey:
- Find all eight hidden heart pieces tucked away in secret corners.
- Discover ten Tiger Scroll spots that come with clever puzzles.
- Look for key Kinstone fusion moments that will power up Link’s gear.
Check out this table for upgrade paths for the shield, sword, and Bomb Bag:
| Item | Level 1 | Level 2 | Level 3 / Upgrade |
|---|---|---|---|
| Shield | Basic Block | Sturdier Guard | Master Defender |
| Sword | Starter Blade | Enhanced Strike | Hero’s Edge |
| Bomb Bag | Small Sack | Expanded Capacity | N/A |
When it comes to Kinstone fusion, try these steps:
- Collect Kinstone fragments as you explore each area.
- Match them up using the fusion checklist.
- Fuse at designated points to maximize Link’s upgrades.
For example, before facing his toughest battles, Link learned that mixing the right Kinstones turned a basic sword swing into a game-changing attack. Ever felt that rush when a secret plan comes together? This is one of those moments that can really change the gameplay!
Challenging boss strategies and combat tips in minish cap walkthrough
Boss fights in The Minish Cap are like epic trials where you need smart planning and spot-on timing. Every mini-boss shows off a pattern if you watch closely, giving you the perfect moment to strike. For example, one mini-boss charges up in a way that leaves a clear chance for a shield parry. Catching these moves early can help you figure out where the boss is weak and set up your next attack.
When you face Vaati in his three-phase final battle, be ready for a change in his attack style at every turn. In Phase 1, focus on placing your bombs to disrupt his fast attack bursts. In Phase 2, mix in some shield parries with quick sword strikes to break his defenses. Phase 3 brings long-range hits and unpredictable moves, so your timing becomes even more important. Watch for breaks in his moves and sync your hits perfectly when he pauses.
Keep these combat tips in mind to save health and speed through fights:
- Study each boss’s attack patterns to discover the best moments for counterattacks.
- Use your shield to block dangerous blows.
- Get into the right position to drop bombs when the boss is vulnerable.
- Adjust your timing as Vaati changes his moves throughout his battle.
By looking at each boss’s weak spots and breaking down how they fight, even the toughest battles can become a series of small wins. These strategies will help you stay in control during wild fights and seize every opening that comes your way.
Interactive maps and hidden passage secrets for minish cap walkthrough
Get ready to dive into a mini cap adventure with detailed dungeon maps for all six chapters. These maps show secret corridors, hidden door spots, and clever shortcuts that guide you through places like Eastern Hills and Lon Lon Ranch. You can unlock extra routes with Ezlo's shrinking power, which also leads to bonus coins and cool power-ups. Ever pressed the R button on a tree stump? It might reveal a hidden cavern right in the middle of the action, making your journey even more rewarding.
These maps don’t just mark the big areas; they also highlight neat landmarks such as vendor stalls and enemy spawn spots. A quick look can help you plan your path, dodge obstacles, and grab all the valuable collectibles along the way. Check out the table below for key map points and secret passage coordinates:
| Map Section | Location | Secret Coordinates | Notes |
|---|---|---|---|
| Eastern Hills | Outskirts | (12, 8) | Shortcut to Lon Lon Ranch |
| Minish Woods | Concealed Cavern | (5, 14) | Accessible with Ezlo’s shrink ability |
• Master the shrinking trick to squeeze through tiny doors.
• Always check the map for bonus routes and extra coin spots.
Final Words
In the action, we broke down the minish cap walkthrough from start to finish. We covered every twist from festival beginnings and tricky puzzles in the Deepwood Shrine to daring boss battles in Dark Hyrule Castle. The guide also mapped crucial routes, revealed hidden passages, and lined up combat tactics that make every fight feel fresh. It’s all packed into a simple, step-by-step adventure review that helps boost skills and keep the excitement alive. Happy gaming, and enjoy your minish cap walkthrough!
FAQ
What does the Minish Cap walkthrough pdf and general Zelda Minish Cap walkthrough cover?
The Minish Cap walkthrough pdf and general guide cover step-by-step missions—from the Picori Festival through dungeon puzzles and boss fights—detailing key paths, hidden collectibles, and strategies for beating every challenge.
What does the Minish Cap walkthrough for Mt Crenel cover?
The Mt Crenel walkthrough details specific challenges at that locale, including environmental puzzles and enemy tactics, helping you figure out safe paths and secret spots unique to that section of the game.
How do the Legend of Zelda Minish Cap walkthrough Walls cheat and cheats help players?
The walkthrough Walls cheat and other cheat tips show ways to bypass wall obstacles using specific button combos and shield moves, giving you extra tactics to outsmart tricky parts of the game.
What does the Minish Cap walkthrough for Palace of Winds include?
The Palace of Winds guide explains how to maneuver air currents, time gusts, and unlock secret rooms, ensuring you’re set to collect treasures and smoothly progress past tricky wind-based puzzles.
What information does the Minish Cap Kinstone guide offer?
The Kinstone guide breaks down fusion tactics and collectible locations, offering clear steps to complete each puzzle and upgrade your gear, a must-read for players looking to maximize Link’s abilities.
How does the Minish Cap map help players navigate the game?
The Minish Cap map provides detailed dungeon layouts, secret passage coordinates, and shortcut routes, making it easier to track collectibles and plan your progress through every area.

