Have you ever wondered if you’ve got what it takes to beat Kingdom Hearts? Imagine zipping across shaky platforms with your potion ready, your heart pounding as you go up against sneaky Heartless groups and a giant, bruised beast. This guide breaks the game down into clear, easy steps so you can master every twist and turn. Ready to learn secret paths and cool tricks to up your game? Get set for a walkthrough that will sharpen your skills and boost your in-game confidence.
Kingdom Hearts Walkthrough: Comprehensive Step-by-Step Completion Guide

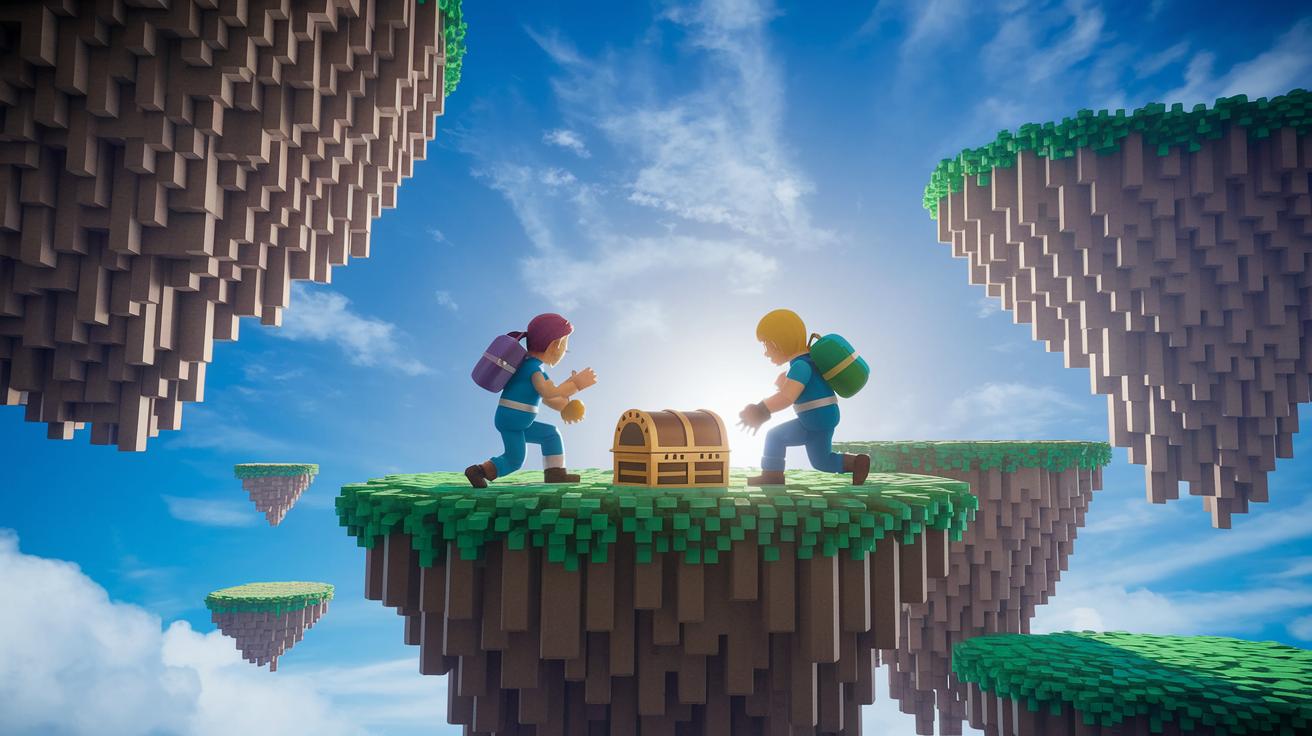
Start your Kingdom Hearts adventure at the Cave Exit. The rush hits you straight away as you follow a nearly hidden path with small floating platforms. Keep an eye out for chests hiding potions, ethers, and early gummi pieces while you fend off roaming Heartless. At the end of the path, a glowing purple light means a lesser Damaged Behemoth is coming your way. Get ready to cast Gravity magic (a spell that pulls enemies down) to stagger it and quickly chip away at its health.
After the Behemoth falls, you’ll be whisked over to World Terminus. This lively area is packed with moving platforms, ledges, and ladders. Hidden chests here offer high-grade gummi blocks and stronger weapons to power up Donald and Goofy. Look for the save station on the lowest level near a big light portal, then step into the glowing ring to push the story forward. This guide also points you to other cool sections like Into the Crater, where unlocking Superglide is a must, and Final Rest, where smart moves against tough waves of Behemoth and Heartless keep you on your toes. All this builds up to the ultimate showdown in the World of Chaos.
- Cave Exit path and Heartless fights
- Damaged Behemoth battle using Gravity magic
- World Terminus: platform puzzles and secret chests
- Into the Crater: unlocking Superglide for a smooth descent
- Dodging the pounce of a fallen Behemoth
- Final Rest: handling waves of Heartless and the Destiny Islands event
- The final boss in the World of Chaos and post-game twists
In the next sections, we’ll break down each part with handy tips and strategies. Picture this: you’re carefully making your way across shaky platforms in a dim cave, heart racing as you grab a vital potion just in time. Every step of this walkthrough is crafted to help you beat Kingdom Hearts Final Mix, so you’re fully prepped to enjoy every high-stakes moment of the adventure ahead.
Kingdom Hearts Walkthrough: Cave Exit Path and Damaged Behemoth Tactics

Step out of the cave and zero in on the barely seen floating platforms that form a thin, ghost-like pathway. Look closely for small changes in the ground, a slight color shift or a faint echo with each step that hints at the right way. The platforms cluster together, almost like they're inviting you to follow their secret trail. Imagine moving lightly, catching a quick glimmer of a platform in the dim light, guiding you forward with quiet confidence.
Keep an eye out for chests tucked behind a big rock, hidden along a narrow ledge, or leaning against worn walls. Each chest holds useful goodies like potions, ethers, or those early gummi components you need.
When you spot a burst of bright purple light, get ready, a Damaged Behemoth is about to show up. Right after it slams down, fire off your Gravity spell to disrupt its charge, leaving it open for a hit. Make sure you stay a safe distance during its heavy stomp before launching a quick aerial attack. Think of it like pulling off a perfect jump; your smart move not only staggers the enemy but gives you the opening you need to shift the battle in your favor.
Kingdom Hearts Walkthrough: World Terminus Platform Routes and Chest Locations
The World Terminus hub is split into three neat vertical layers. Each floor is crammed with bridges, platforms hooked together, and ladders that span various heights, kind of like a real-life puzzle where every move might reveal a secret.
Start by checking out the ladder routes and chest spots sprinkled all around. Head over to the northern platforms first, where a row of ladders links the middle and top levels. Then, if you wander to the eastern side halfway down, you'll uncover hidden chests loaded with high-grade gummi blocks and upgraded weapons for Donald and Goofy. Over on the western edge, look for ladders that open up secret paths leading to little nooks with extra goodies. And don’t forget to follow the clear direction markers, they point you from one checkpoint to the next.
On the bottom level, you’ll spot a save station next to a big, glowing portal. Step in, hit save, and then pass through the lit circle to jump into the next thrilling part of your journey.
Kingdom Hearts Walkthrough: Into the Crater Descent and Destroyed Behemoth Avoidance

Before you jump into the Crater, pause your game and equip your Superglide (a slick tool that lets you slide fast). This move smooths out your descent on slippery slopes and keeps you in control as you face off against tough challenges.
Once you're inside, you'll see bright white portals flashing around you, teleporting you deeper into the mountain. Each flash is like a checkpoint, guiding you toward a chamber with a Heartless emblem. Keep an eye out for these markers, they work like a trail of sparkles in a dark cave, leading you further into the action.
After landing on a green-tinted floor, be ready for a tougher fight. The Destroyed Behemoth may suddenly dart in from the far side to attack. When you see it coming, roll left quickly to dodge its pounce. Get your timing down just right so you have room to counterattack while keeping your health and stamina in check.
Kingdom Hearts Walkthrough: Final Rest Waves to Destiny Islands & Darkside Battle
Once you step into Final Rest, things heat up fast. First, a big Behemoth shows up, and before you know it, a swarm of Heartless is on your tail. Use your area-of-effect spells (spells that hit many enemies at once) to take them out while keeping a safe distance. Keep those combos flowing to clear clusters and leave enough room to dodge. It’s a neat trick to control the chaos and build your momentum for tougher fights, each spell feels like a game-changing move.
Next, swing by the small chamber past the Heartless sign and find the save station. Hit save and secure your progress before you head over to Destiny Islands, always be on your guard.
When you arrive at Destiny Islands, you’ll discover a hidden waterfall grotto where the tension ramps up with every scripted event. As the island starts shaking things up and even crumbling a bit, get close to Riku and watch the drama unfold. The ambient sounds teamed with the soft rush of water set a surreal scene, reminding you that every moment here is key to pushing the story forward and keeping your focus sharp.
Before you dive into the Darkside battle, take a minute to fine-tune your loadout. Grab some curative items like Hi-Potions and Reflega, and adjust your ability shortcuts for quick access. Double-check that your weapons and accessories are all set for combat. Trust me, this prep phase is a game-changer when it comes to handling the Darkside, it can turn a daunting challenge into a fight you can totally manage.
Kingdom Hearts Walkthrough: World of Chaos Final Showdown and Post-Game Content

Get ready for the big showdown in the World of Chaos! This is your moment to face Darkside in an all-out battle that wraps up the main story for Final Mix. Make sure you equip high-MP accessories, stock up on Boost Potions, and use offensive Cure commands to boost your damage and keep your groove.
Darkside is a tough opponent, swinging in fast with punishing strikes. You’ll notice his charge attacks by a flash of dark energy, kind of like a warning sign before a heavy swing. When you see him getting ready, hit him back with quick offensive combos and aerial moves to break his momentum. Keep your health in check by timing your Boost Potions during the slowdowns, and don’t be shy about dodging when he goes for wide-area attacks. A mix of quick dodges and well-timed cures is your ticket to keeping him on the defensive.
After Darkside falls, the game isn’t over. If you’re the kind of gamer who loves collecting trophies, extra challenges await after the credits. You can dive into bonus battles like the Chernabog fight, a clash in the Linked Worlds, or even a solo run against Ansem. Each of these extra bouts brings its own set of mechanics and rewards, giving you plenty of reasons to jump back in.
Final Words
In the action, our kingdom hearts walkthrough led you from the secret Cave Exit to the epic showdown in World of Chaos. We covered hidden paths, smart strategies for the Damaged Behemoth, platform navigation in World Terminus, and even how to handle tricky super moves and save stations.
Each segment gave clear steps and practical tips to boost your skills. Keep the energy high and explore every detail, you’re all set for more wins and unforgettable gaming moments.

